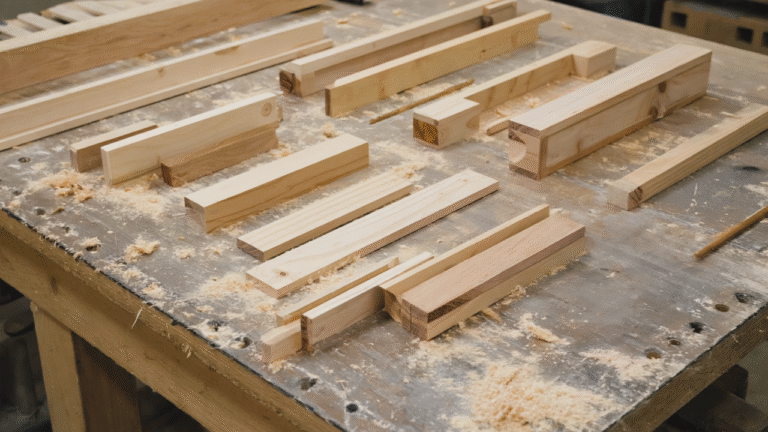
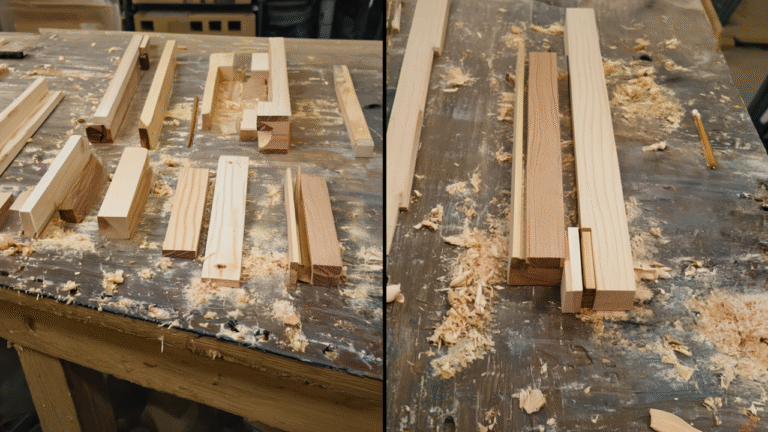
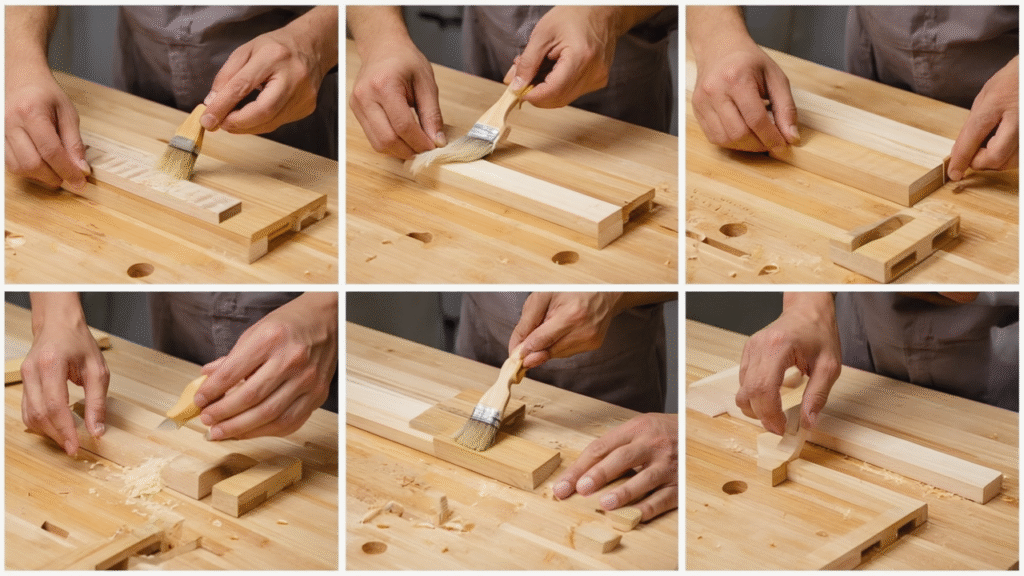
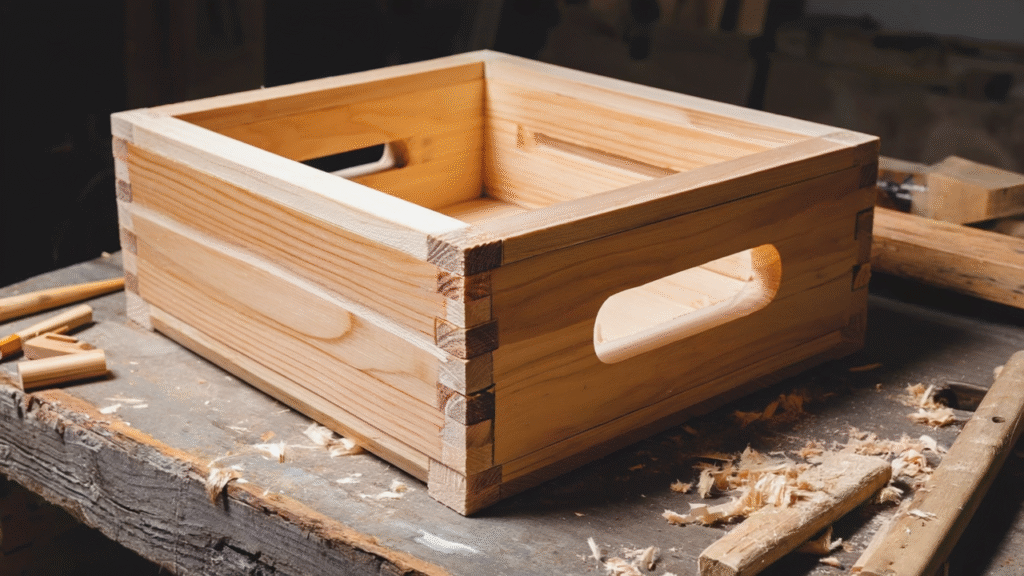
I’ve ruined more projects than I care to admit. Twenty-plus years in the shop, and I can still remember staring at a pile of expensive walnut that looked like it went through a blender instead of my careful hands. If you’re reading this with sawdust in your hair and frustration in your heart, trust me – you’re not alone.
These common woodworking mistakes happen to everyone. Even now, I occasionally catch myself making the same bonehead moves that turned my early projects into expensive firewood. But here’s the thing: once you know what to watch for, avoiding these woodworking fails becomes second nature.

Let me walk you through the seven biggest project killers I see beginners struggle with. These common woodworking mistakes happen over and over, but these woodworking tips for beginners will save you more headaches, wasted wood, and weekend afternoons than anything else I can teach you.
The 7 Project Killers That’ll Drive You Nuts
1. Not Accounting for Wood Movement (The Silent Project Destroyer)
This one’s sneaky because everything looks perfect… until it doesn’t. Wood moves. It expands and contracts with humidity changes, and if you don’t plan for it, your beautiful project will crack, warp, or fall apart within months.
I learned this the hard way with a kitchen table I built for my sister. Looked gorgeous when I delivered it in dry February. By humid July, the top had split right down the middle like Moses parting the Red Sea. Talk about embarrassing.
The Fix: Always consider grain direction when joining pieces. Use techniques like floating panels, figure-8 fasteners, or breadboard ends that allow movement. For tabletops, never glue solid wood panels directly to an apron – they need room to breathe.
Quick Test: If you’re joining two pieces of wood, ask yourself: “What happens when one expands and the other doesn’t?” If your answer involves splitting or warping, redesign the joint.
2. Poor Measuring and Marking (Measure Twice, Swear Once)
“Measure twice, cut once” – yeah, we’ve all heard it. But I see folks making the same measuring mistakes over and over. Using different measuring tools on the same project, not accounting for saw kerf, marking with pencils so dull they leave lines wider than my thumb.
Here’s a classic woodworking fail: I once built an entire bookshelf where every shelf was 1/8″ too long because I forgot to account for the dado depth. This is one of those common woodworking mistakes that cost me hours of fixing. Had to trim every single one with a hand plane. Took longer to fix than to build the whole thing originally.
The Fix: Use one measuring tool for the entire project. Mark with a sharp knife, not a pencil. Always account for material removal (saw kerfs, router bits, etc.). And for Pete’s sake, double-check critical measurements before you cut.
Pro Tip: Write your measurements directly on the wood in pencil after you’ve knife-marked your cut line. This prevents the “wait, was that 23¼ or 23¾?” panic.
3. Rushing the Sanding Process (The Scratch Amplifier)
Oh boy, this one makes me cringe every time. Sanding isn’t just about making things smooth – it’s about progressively removing scratches. Skip grits, sand too aggressively, or rush through it, and you’ll amplify every scratch when you apply finish.
I’ve seen beautiful cherry projects that looked like they were attacked by an angry cat because someone jumped from 80 grit straight to 220. Those deep scratches don’t just disappear – they get highlighted by stain and finish like a neon sign.

The Fix: Don’t skip grits. Start coarse enough to remove mill marks and previous scratches, then work through progressively finer grits. For most projects: 120, 150, 180, 220. Sand with the grain on your final grit, and check your work with a bright light raking across the surface.
Reality Check: If you’re spending less than 30% of your project time on sanding and finishing, you’re probably rushing it.
4. Wrong Glue Application (The Squeeze-Out Nightmare)
Glue seems simple, right? Wrong. I see people using too much, too little, wrong type, or applying it wrong. Then they wonder why their joints fail or why stain won’t penetrate around the glue line.
Common woodworking mistakes here include: drowning joints in glue (more isn’t better), using the wrong glue for the application, not cleaning squeeze-out properly, or worse – trying to sand away dried squeeze-out, which just spreads invisible glue particles that reject stain. These are the kind of common woodworking mistakes that ruin finishes.
The Fix: Use just enough glue to create a thin, continuous film. Clean up squeeze-out immediately with a damp cloth, then come back with a clean, barely damp cloth to remove any residue. For stained projects, consider using hide glue – it takes stain better than PVA.

Glue Rule: If you’re not getting a little squeeze-out, you didn’t use enough. If you’re getting a lot, you used too much.
5. Ignoring Grain Direction (The Tear-Out Generator)
Grain direction matters for everything: planing, routing, sanding, even how you orient boards in a glue-up. Work against the grain, and you’ll get tear-out that’ll make you question your life choices.
This is one of those woodworking tips beginners often ignore until they ruin a piece, but it’s among the most crucial common woodworking mistakes to avoid. I remember trying to plane a gnarly piece of maple against the grain – looked like I attacked it with a beaver. Had to sand through three grits just to get back to decent.
The Fix: Always read the grain before you cut, plane, or route. For planing and routing, the grain should angle down and away from your direction of cut. When gluing up panels, alternate the end grain orientation to minimize cupping.
Quick Grain Check: Look at the edge of your board – the grain lines should point away from your cutting direction, not toward it.
6. Inadequate Clamping (The Gap Creator)
Clamping looks straightforward, but it’s an art form. Too little pressure and your joints don’t bond. Too much pressure and you squeeze out all the glue or distort your project. Wrong clamp placement and you create gaps instead of closing them.
One of my most common woodworking mistakes early on was thinking more clamp pressure always meant better joints. These common woodworking mistakes teach you that technique matters more than force. I once clamped a tabletop so hard I actually created a bow in the middle that took hours to fix.
The Fix: Use enough clamps to distribute pressure evenly. Place clamps alternating above and below to prevent bowing. Snug them down evenly – you want squeeze-out along the entire joint, not a river of glue from over-clamping one spot.
Clamping Mantra: “Firm handshake pressure, not death grip.”
7. Skipping Test Fits (The Prayer and Hope Method)
This is the big one – the common woodworking mistake that separates beginners from experienced makers. Test fitting isn’t just checking if pieces go together; it’s rehearsing your entire assembly process.
I learned this lesson building a complex jewelry box with multiple drawers and compartments. Skipped the test fit because I was confident in my measurements. Assembly day was a disaster – nothing fit right, glue was setting up while I fumbled with parts, and I ended up with gaps you could mail a letter through.

The Fix: Always do a complete dry fit before glue-up. Check that everything fits, rehearse your clamping sequence, and have all your tools and supplies ready. If something doesn’t fit perfectly during dry fit, fix it then – not during glue-up when you’re racing the clock.
Real Project Examples: When Things Go Wrong
The Kitchen Cabinet Catastrophe
Last year, I helped a student who’d built beautiful face frames for kitchen cabinets – except she didn’t account for wood movement. Used solid wood rails attached rigidly to plywood cases. Six months later, every single rail had cracked. We had to rebuild them using proper floating joint techniques.
The Dining Table Disaster
Another student’s first big project: a gorgeous oak dining table. But he rushed the sanding, jumping from 80 to 220 grit. When he applied stain, every deep scratch showed up like tiger stripes. Took two days of careful scraping and re-sanding to save it.
The Bookshelf Blunder
My personal favorite failure: a simple bookshelf where I ignored grain direction when routing dados. Every single shelf had ugly tear-out on the front edge. Had to route them deeper and glue in strips to hide the damage. Sometimes the best teacher is your own mistakes.
Your Project Prevention Checklist
Before you start any project, run through this list. Trust me, five minutes of planning prevents five hours of fixing:
Planning Phase:
- Is wood movement accounted for in my design?
- Do I have the right wood for this application?
- Are my measurements written down and double-checked?
Prep Phase:
- Have I checked grain direction for all operations?
- Is my measuring system consistent throughout?
- Do I have the right grit sequence planned for sanding?
Assembly Phase:
- Have I done a complete dry fit?
- Is my glue application method appropriate?
- Are my clamps positioned to prevent distortion?
Finishing Phase:
- Did I check for any remaining scratches or defects?
- Are all surfaces properly prepared for finish?
- Have I tested my finish on scrap wood?
How to Recover from These Woodworking Mistakes
Okay, so you’ve already made the mistake. Don’t panic – most woodworking fails are fixable:
For Wood Movement Issues: Sometimes you can relieve stress with strategic cuts or routs. Severe cases might need rebuilding with proper joinery.
For Measuring Mistakes: Small errors can often be trimmed or filled. Larger ones might mean making new parts, but hey – now you have practice pieces!
For Sanding Problems: You can always go back to a coarser grit and work your way up again. It’s tedious, but it works.
For Glue Failures: Most glue joints can be broken down with heat, moisture, or careful chisel work, then re-glued properly.
For Grain Tear-Out: Light tear-out can be sanded out. Heavy tear-out might need filling, patching, or creative design changes.
For Clamping Issues: Gaps can sometimes be filled or covered with creative trim. Distorted assemblies might need disassembly and re-clamping.
For Fit Problems: This is where your problem-solving skills shine. Can you trim, shim, or modify the design? Sometimes “mistakes” lead to better solutions.
The Truth About Woodworking Mistakes
Here’s what I wish someone had told me when I started: every single master woodworker has a graveyard of failed projects. The difference isn’t that they stopped making mistakes – they just learned to fix them better and make different mistakes.
These common woodworking mistakes aren’t character flaws or signs you should give up. They’re tuition payments in the University of Hard Knocks, and every one teaches you something valuable. Understanding these common woodworking mistakes is the first step to becoming a better woodworker.
The goal isn’t perfection – it’s progress. Each project should be a little better than the last, not because you’re naturally gifted, but because you’re learning from experience.
Your Next Steps
Start with just one of these areas. Don’t try to fix everything at once – that’s overwhelming and leads to more mistakes. Pick the one that bit you on your last project and focus on getting that one right.
Maybe it’s slowing down your sanding process, or maybe it’s actually doing that test fit you keep skipping. Small improvements compound over time, and before you know it, these woodworking tips for beginners will become second nature.
Remember: the best woodworkers aren’t the ones who never make mistakes – they’re the ones who make interesting mistakes and learn how to fix them creatively.
Your projects deserve your patience, and you deserve the satisfaction of builds that actually turn out like you planned. These common woodworking mistakes have taught me more than any book or video ever could, and now they can teach you too.
Ready to build with confidence? Get our complete precision checklist – it walks you through every critical step to avoid these costly mistakes before they happen.
Hi there, thanks so much for reading and for your comment!
Using an online translator, it looks like you’re asking about the price. I’m happy to help clarify!
This blog post and all the articles here on HMZ Woodz are completely free for everyone to read and learn from.
If you were asking about my premium, in-depth guide, “The Table Saw Master’s Playbook,” which includes all my step-by-step plans for building precision jigs and cutting flawless joinery, you can find it on my Gumroad page. It’s currently priced at $37.
You can see everything that’s included right here: https://hmzwoodz.gumroad.com/l/playbook
Hope that helps, and happy woodworking!
Daniel