Small Woodworking Shop Layout Ideas to Maximize Your Space
You know that feeling?
You’ve got the passion. You’ve got the tools (or at least a few of them). You’ve even got the skills to build something beautiful. But every time you turn around in your shop, you’re bumping into your table saw… or tripping over scrap wood… or knocking over your coffee because your workbench is also your router table, your assembly station, and your lunch table.
Yeah. I’ve been there.
My first “shop” was half of a single-car garage. The other half? That was for my roommate’s beat-up Honda Civic. I had exactly 6 feet of width to work with — and I still managed to build a bookshelf, a coffee table, and even a set of floating shelves for my girlfriend (now wife — she was impressed).
How? It wasn’t magic. It wasn’t money. It was smart small woodworking shop layout ideas.
And today, I’m going to share the exact 7 strategies I used — and still use — to turn cramped, chaotic spaces into highly functional, inspiring workshops. Whether you’re working out of a basement corner, a shed, or half a garage, these ideas will help you reclaim your space, reduce frustration, and actually enjoy your time in the shop.
Why Your Shop Layout Matters More Than Your Tools
Before we jump into the nitty-gritty, let’s get one thing straight:
Your shop layout is more important than your tool collection.
Seriously.
I’ve seen guys with $10,000 worth of tools crammed into a 10×10 room, tripping over extension cords and cursing every time they need to swap blades.
And I’ve seen guys with a circular saw, a drill, and a workbench tucked under the stairs build stunning furniture — because their space was organized.
A good layout:
- Saves you time (no more searching for your square)
- Saves you frustration (no more bumping into your miter saw mid-cut)
- Saves your back (no more bending over to dig tools out of a bottom drawer)
- And most importantly — makes you want to go into the shop
So if you’re feeling cramped, overwhelmed, or just plain annoyed every time you open your shop door… this is your starting point.
Let’s fix it.
7 Small Woodworking Shop Layout Ideas That Actually Work
These aren’t theoretical. These are battle-tested, beginner-friendly, budget-conscious solutions that I’ve used, my students have used, and thousands of woodworkers just like you are using right now.
1. The “Workflow Triangle” (Your Shop’s Beating Heart)
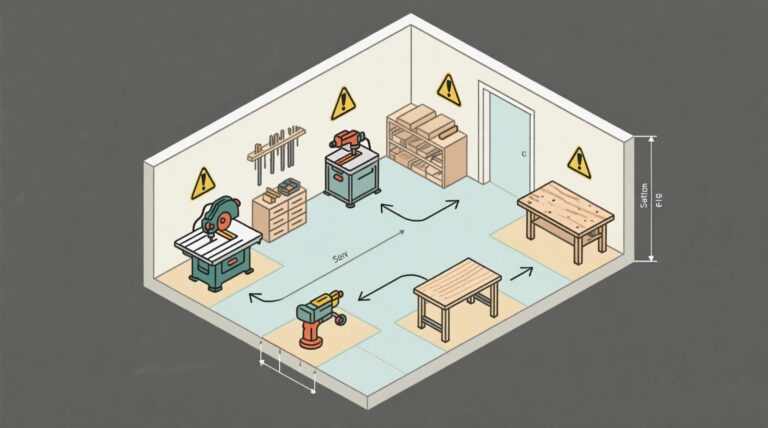
In kitchen design, there’s something called the “work triangle” — the path between the sink, stove, and fridge. The shorter the triangle, the more efficient the kitchen.
Your shop needs the same thing.
Your three core stations are:
- Table Saw (your primary cutting station)
- Router Table / Assembly Station (where you shape, join, and glue)
- Workbench (where you clamp, sand, and finish)
Arrange these three in a triangle — even if it’s a tight one. The goal? You should be able to pivot between them without taking more than 2-3 steps.
Pro Tip: If space is really tight, combine your router table and workbench. Just make sure your router table insert is removable so you can use the full surface for clamping.
2. Put Everything on Wheels (Seriously, Everything)
This was the single biggest game-changer for me.
I bolted locking casters to the bottom of my table saw, my router table, my assembly table — even my dust collector.
Why?
Because in a small shop, your floor is your most valuable real estate.
When you’re cutting sheet goods? Roll the table saw to the center of the room.
When you’re routing? Roll it back against the wall and bring the router table forward.
When you’re assembling? Clear the whole floor and bring out your clamps.
Mobile bases cost less than $100 per tool (or you can build them yourself for under $50), and they give you back hours of frustration every month.
Common Mistake: Using cheap, wobbly casters. Invest in locking, industrial-grade casters (4” minimum). Your tools are heavy — don’t trust them to dollar-store wheels.
3. Go Vertical: Plywood & Lumber Storage That Doesn’t Eat Floor Space
Lumber racks that stick out 2 feet from the wall? In a small shop, that’s a dealbreaker.
Instead, go vertical.
- Install wall-mounted vertical lumber racks — they hold boards on their edge, taking up almost no depth.
- Use ceiling-mounted plywood racks — hoist your sheet goods up and out of the way with a simple pulley system.
- Build narrow, tall scrap wood bins that slot between other tools or against the wall.
Your lumber should be accessible — but it shouldn’t be in your walking path.
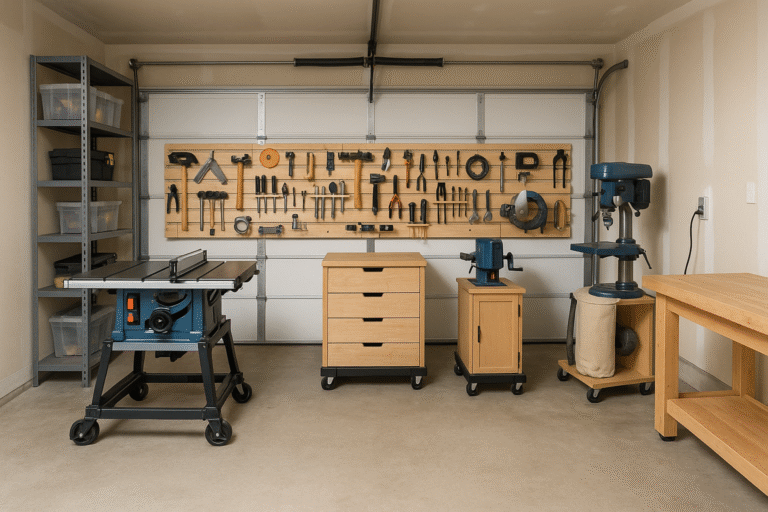
4. The French Cleat Wall System (Your New Best Friend)
If you’ve never used a French cleat system, you’re missing out.
It’s simple: a 30-45 degree beveled strip of wood mounted to your wall. Any tool holder, shelf, or bin with a matching bevel locks right in — and can be moved in seconds.
I have my entire hand tool collection, my power tool accessories, my clamps, and even my dust collection hoses mounted on French cleats.The beauty? It’s infinitely customizable. Need to move your chisel rack? Unhook it and rehang it 6 inches over. Need to add a new bin for sandpaper? Cut a cleat, screw it on, done.
Pro Tip: Use ¾” plywood for your cleats — it’s strong, stable, and holds weight beautifully. And paint them a bright color (I use HMZ orange) so they stand out against the wall.
5. Compact Dust Collection: Think Smaller, Smarter
You don’t need a 5HP cyclone system in a 1-car garage.
Start small:
- A shop vacuum with automatic switching (turns on when you turn on your tool)
- A dust deputy (cyclone separator) to keep your vacuum bag from clogging
- Flexible 2.5” hoses that can be easily moved and stored
Mount your vacuum on a mobile base, too — so you can roll it to wherever you’re working.
And for your table saw? A simple under-table dust hood connected to your vacuum makes a massive difference in airborne dust.
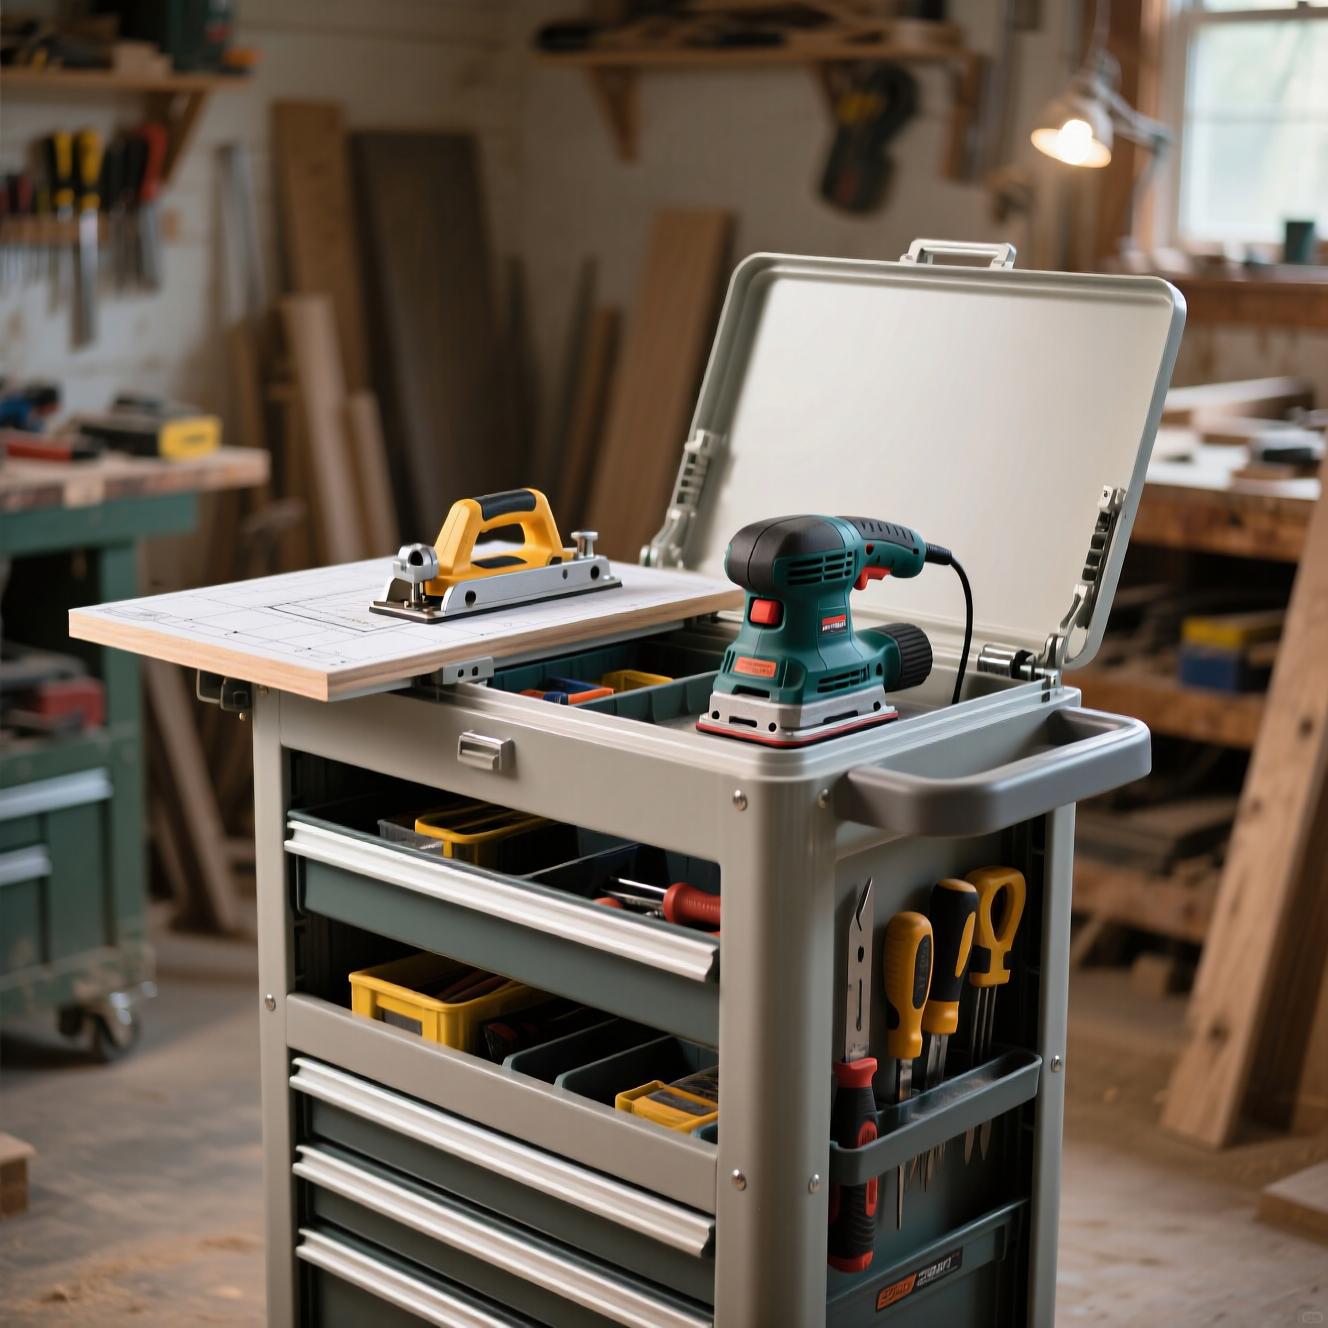
6. Flip-Top Tool Carts (Two Tools, One Footprint)
This is pure genius for small shops.
Build (or buy) a cart where one tool is mounted on each side of a hinged top.
Common combos:
- Planer on one side, jointer on the other
- Router table on one side, benchtop sander on the other
- Drill press on one side, band saw on the other
When you need the planer? Flip the top one way. Need the sander? Flip it the other way. The rest of the time? It’s just a compact cart tucked against the wall.
I built my first flip-top cart in a weekend using ¾” plywood and heavy-duty hinges. It’s still in daily use 5 years later.
7. Smart Lighting & Electrical: No More Tripping Over Cords
Bad lighting = bad cuts. Bad electrical = tripping breakers (or tripping over extension cords).
Fix both:
- Lighting: Install LED shop lights directly above your key work areas (table saw, bench, router). Avoid single ceiling fixtures — they create shadows. Go for multiple, focused light sources.
- Electrical: Install ceiling-mounted power drops with retractable extension cords. Or run surface-mounted conduit along the wall with multiple outlets. No more snaking cords across the floor.
Safety Tip: Use GFCI outlets in your shop — especially if it’s in a garage or basement. Water and electricity don’t mix.
Common Mistakes to Avoid in Your Small Shop Layout
Even with the best small woodworking shop layout ideas, it’s easy to fall into these traps:
❌ Trying to fit everything at once. Start with your core triangle (saw, router, bench). Add other tools as space allows.
❌ Ignoring dust collection. In a small space, dust builds up fast. It’s a health hazard and a fire risk. Start small, but start now.
❌ Forgetting about workflow. Don’t just place tools where they “fit.” Place them where you’ll use them. Think about the sequence of steps in your most common projects.
❌ Underestimating storage. If you can’t put it away easily, you won’t put it away. Build storage into your layout from day one.
❌ Not leaving “breathing room.” You need space to move, to step back, to think. Don’t cram every inch. Leave at least 3 feet of clear space around your main work areas.
Wrapping It Up: Your Small Shop Can Be a Powerhouse
I won’t lie — working in a small space has its challenges.
But it also forces you to be smarter, more organized, and more intentional about your craft.
And honestly? Some of my best work came from those early days in the half-garage. The constraints forced me to focus on what really mattered: good design, solid joinery, and clean execution.
You don’t need a 2,000 sq ft shop to build beautiful things.
You just need a smart plan.
Start with one of these small woodworking shop layout ideas this weekend. Move one tool. Build one shelf. Install one French cleat.
Small steps lead to big changes.
And before you do anything else — make sure your most important tool is running perfectly.
🛠️ Ready to Optimize Your Shop? Start With Your Table Saw.
No matter how clever your layout is, if your table saw isn’t tuned up, you’re fighting an uphill battle.
That’s why I created the free Table Saw Tune-Up Checklist — a simple, 15-minute guide to calibrating your saw for dead-on accuracy, smoother cuts, and safer operation.
It’s the first step to a better shop — and better projects.Let’s build something great,
— Daniel
HMZ Woodz