Summer Woodworking Projects: 5 DIY Backyard Builds That Actually Last
I’ll never forget the summer I built my first outdoor serving tray.
I used cheap pine from the big box store. Sanded it smooth. Stained it a rich walnut. Even added cute little brass screws.
By August?
It was gray.
Warping.
One corner had split from the humidity.
My wife said, “It looks like it’s crying.”
She wasn’t wrong.
I’d learned the hard way: not all summer woodworking projects are created equal.
Some builds last for years. Others? They’re basically kindling with a finish.
After 10 years of building outdoor furniture — in Florida humidity, Arizona sun, and Midwest summers — I’ve tested them all.
And today, I’m giving you the only 5 summer woodworking projects worth your time — plus the exact wood, hardware, and design tricks that make them last.
No fluff. No “maybe this’ll work.” Just proven, durable, beautiful builds you can finish in a weekend.
Why Most Summer Woodworking Projects Fail (Before July’s Over)
Most beginners make one of three mistakes:
- They pick wood based on price → Pine looks cheap. It is cheap — and it fails fast.
- They skip drainage and elevation → Trapped water = rot city.
- They use indoor hardware → Regular screws rust, stain your wood, and weaken joints.
But the real secret?
Start with the right wood, design for weather, and use outdoor-rated hardware.
Get this right — and your furniture will still be standing when your neighbors’ plastic sets are in the landfill.
📌 Not sure which wood to use? See our full guide to the 5 Best Wood Types for Outdoor Furniture .
The 5 Best Summer Woodworking Projects (That Won’t Fall Apart)
These builds are designed for real weekends — simple cuts, minimal tools, and maximum impact.
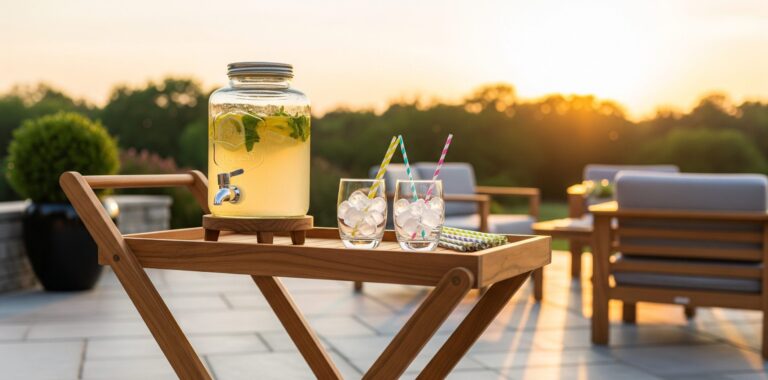
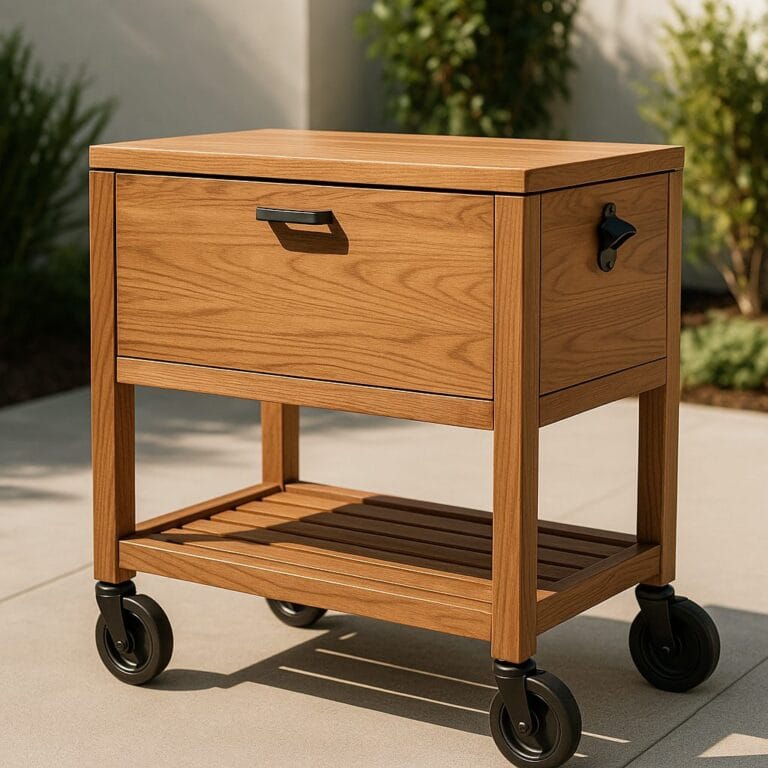
1. Portable Backyard Serving Cart
- Why it works: Rolls drinks, snacks, and grilling tools wherever the party is
- Wood: Cedar or pressure-treated pine
- Time: 1 weekend
- Pro Tip: Add a lower shelf for ice buckets + locking casters
2. Giant Outdoor Yard Games
- Why it works: Instant entertainment, conversation starter
- Wood: Pine (paint it!) or cedar (natural look)
- Time: 1 weekend
- Pro Tip: Oversized Connect Four or Tic-Tac-Toe — kids and adults love them

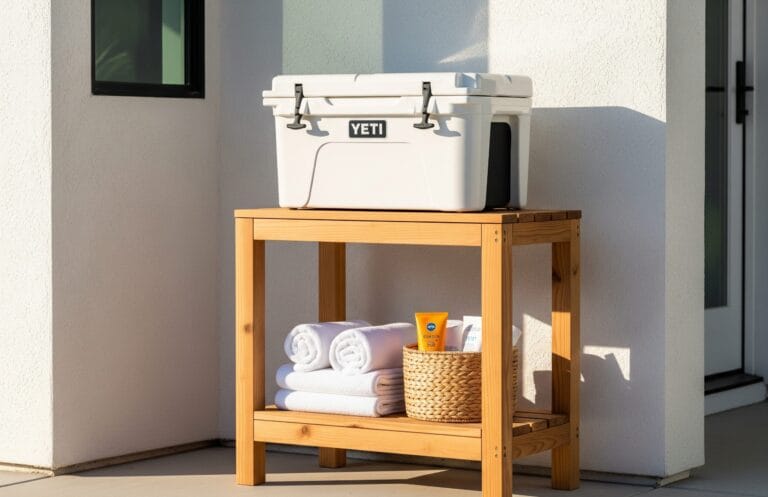
3. Tiered Drink Cooler Stand
- Why it works: No more bending over, keeps ice melt off your patio
- Wood: Cedar or cypress
- Time: 1 day
- Pro Tip: Add a towel hook on the side — small touch, big impact
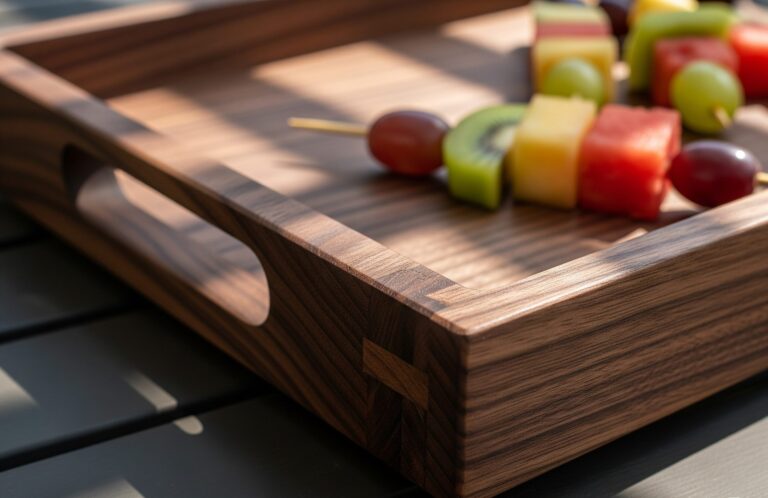
4. Custom Serving Tray with Handles
- Why it works: Elevates your hosting game, perfect for appetizers or cocktails
- Wood: Hardwood (maple, walnut) for indoor/outdoor use
- Time: 1 afternoon
- Pro Tip: Round the edges with sandpaper — feels nicer, looks cleaner
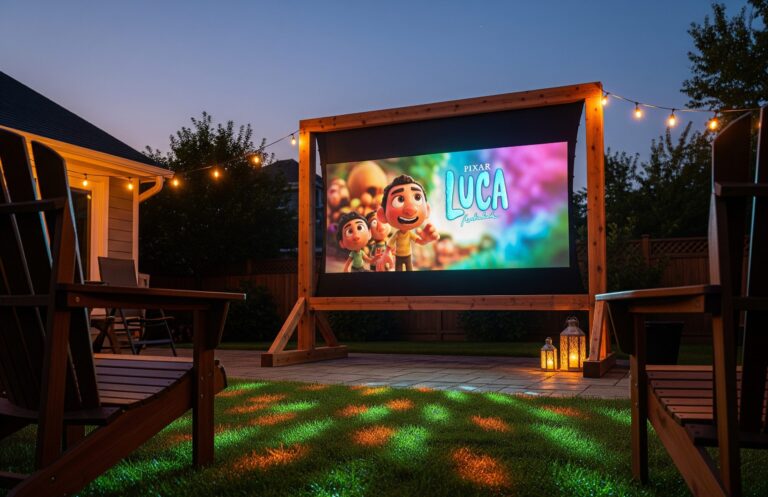
5. DIY Outdoor Projector Screen Frame
- Why it works: Movie nights under the stars, game day outside
- Wood: Pine or poplar (paint it matte white)
- Time: 1 day
- Pro Tip: Make it collapsible for easy storage
🧑🔧 Daniel’s Story: I built a serving cart for my brother’s 4th of July party. It’s still in use 3 years later — even after surviving a Midwest thunderstorm. The secret? Cedar, stainless screws, and feet to keep it off the wet grass.
Pro Tips That Make Your Builds Last
- Elevate it off the ground — Use feet, blocks, or casters. Standing water is the #1 killer.
- Seal every surface — Top, bottom, edges, end grain. Moisture sneaks in everywhere.
- Use stainless steel hardware — Regular screws rust and stain your wood.
- Design for drainage — Slats, gaps, and sloped surfaces let water escape.
- Reapply finish yearly — UV breaks down sealants. A quick refresh goes a long way.
📌 For more quick builds, check out our Weekend Wood Projects — perfect for indoor and outdoor use.
Before You Cut Your First Board — Tune Your Saw
Here’s something no one tells you:
Your summer woodworking projects are only as good as your cuts.
A misaligned table saw = crooked joints = gaps where water collects = rot.
I used to blame the wood. The weather. The finish.
Then I realized: my saw was off by 1/16”. That’s all it took to ruin the fit.
That’s why I created the FREE “Dead-Square Every Time” Table Saw Tune-Up Checklist.
It’s a 15-minute guide to calibrating your saw for perfect 90° cuts — no dial indicator needed.
What’s your dream summer project? Drop it in the comments – I love seeing what fellow builders are cooking up!
It’s the first step to builds that last — not just survive the season.
You’ve Got This
Building summer woodworking projects isn’t about fancy tools or years of experience.
It’s about choosing wisely, building well, and respecting the elements.
Pick one of these 5 builds. Follow the tips. Take your time.
And in 3 years, when your neighbors are buying their third plastic set…
you’ll still be hosting parties with the cart you built.
Go build something that lasts.
— Daniel
HMZ Woodz