I still remember the frustration from my early woodworking days. Measure twice, cut once, they said. But what they didn’t tell me was that it doesn’t matter how precise your measurements are if your table saw tune up checklist for beginners isn’t properly followed.
I’d spend hours carefully marking my cuts, double-checking everything, only to discover that my “perfect” joint had a tiny gap. Not a huge gap, mind you – just enough to drive me absolutely crazy and waste perfectly good lumber.
Sound familiar?
Here’s the truth that took me years to learn: 90% of beginner woodworkers struggle with square cuts not because they’re bad at measuring, but because their table saw needs a simple tune-up using a proper table saw tune up checklist for beginners.
The good news? You can fix this in about 15 minutes with basic tools you probably already own.
Why Your Table Saw Cuts Aren’t Square (The Real Problem Behind Poor Table Saw Calibration)
Before we dive into our table saw tune up checklist for beginners, let’s understand why this happens. Your table saw is a precision instrument, but it’s made up of multiple moving parts that can shift over time:
- Blade alignment can drift from vibration and use
- Fence rails can become misaligned during transport or setup
- Table surfaces can develop slight warps or debris buildup
- Miter gauge slots can collect dust and affect accuracy
- Blade height and angle settings can creep from their original positions
Most woodworkers never check these things because they assume their saw came “perfect” from the factory. Big mistake.
Even the most expensive cabinet saws need tune-ups. In fact, I’ve seen $3,000 SawStop saws that cut less accurately than a properly tuned $400 contractor saw following a basic table saw tune up checklist for beginners.
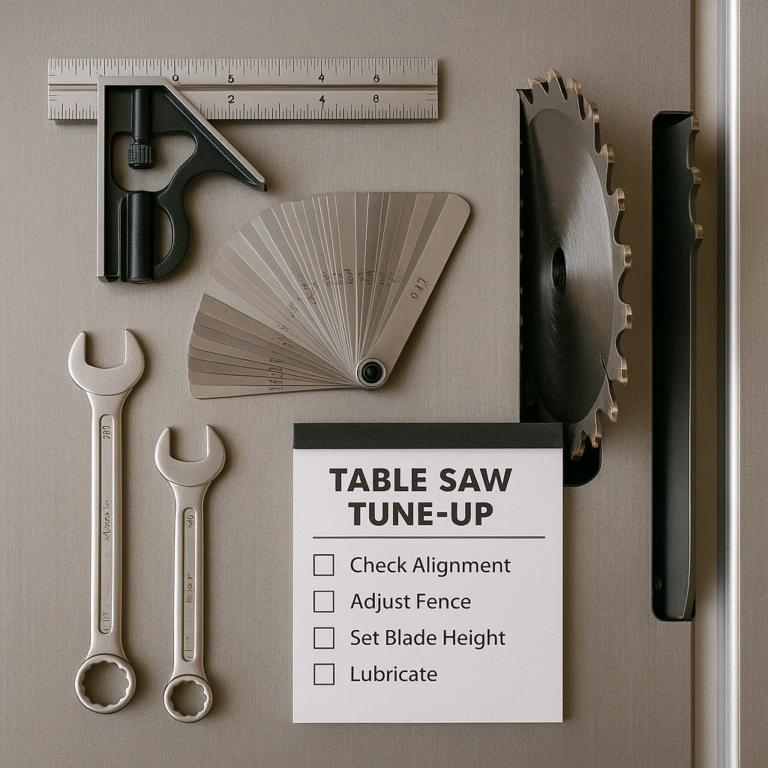
The “Dead-Square Every Time” Table Saw Tune Up Checklist for Beginners
I developed this table saw tune up checklist for beginners after ruining one too many projects with “almost square” cuts. It’s based on the same process professional cabinet shops use, but simplified for home workshops.
Essential Tools for Your Table Saw Tune Up Checklist:
You’ll need these tools:
- Reliable combination square or precision square
- Feeler gauges (or thin business cards)
- Basic wrenches for your saw
- Clean rags
- WD-40 or similar lubricant
Important: Unplug your saw before starting. Safety first, always.
Step-by-Step Table Saw Calibration Process
Step 1: Clean Your Table Surface (2 minutes)
Start with a completely clean table. Use a clean rag and remove all dust, debris, and any built-up residue. Pay special attention to:
- The area around the blade insert
- Both miter gauge slots
- The fence rail mounting points
- Any adjustment mechanisms
Why this matters: Even tiny particles can throw off your measurements and prevent proper tool contact with the table surface.
Step 2: Check Table Flatness (3 minutes)
Place your combination square or a known-straight edge across various points on your table surface. Look for gaps between the straight edge and table.
What you’re looking for:
- No gaps larger than 0.003″ (about the thickness of a piece of paper)
- Consistent contact across the entire table surface
- No high spots or low spots
If you find problems: Minor issues can often be resolved by cleaning and waxing. Major warping might require professional attention or table replacement.
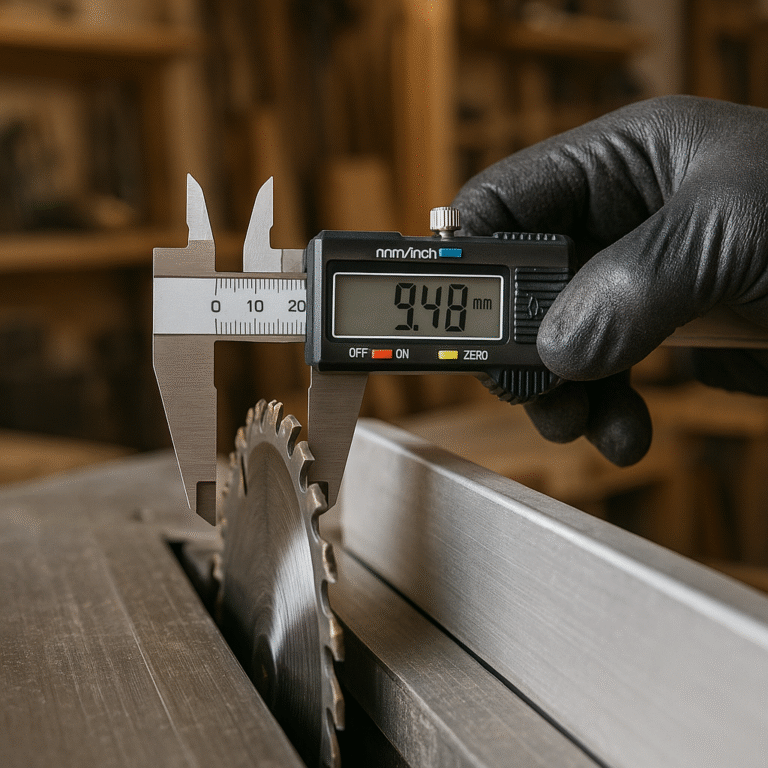
Step 3: Verify Blade-to-Slot Alignment for Perfect Table Saw Calibration (4 minutes)
This is the heart of your table saw tune up checklist for beginners. Your blade must be perfectly parallel to the miter gauge slots.
Here’s how to check:
- Raise your blade to full height
- Select one tooth on your blade and mark it with a marker
- Position this tooth at the front of the table, aligned with the left miter slot
- Measure the distance from the tooth to the slot edge with feeler gauges
- Rotate the blade so the marked tooth is now at the back of the table
- Measure the distance again at the same spot
The verdict: Both measurements should be identical. If they differ by more than 0.002″, your blade needs adjustment.
How to fix blade alignment: Most saws allow you to adjust this by loosening the bolts that secure the motor/arbor assembly and shifting it slightly. Check your manual for the specific procedure – it varies by manufacturer.
Step 4: Check and Adjust Your Fence (3 minutes)
Your fence must be perfectly parallel to the blade and miter slots for proper table saw calibration.
Testing method:
- Position your fence about 6 inches from the blade
- Measure the distance from the fence to the marked tooth at the front of the blade
- Rotate the blade so the marked tooth is at the back
- Measure the distance again
Perfect result: Both measurements identical within 0.002″
Common fence issues:
- Fence not parallel (most common)
- Fence not perpendicular to table surface
- Fence deflection under clamping pressure
Quick fix: Most fences have adjustment bolts at both the front and rear rail mounting points. Adjust until you achieve perfect parallel alignment.
Step 5: Verify Blade Perpendicularity (2 minutes)
Your blade must be exactly 90 degrees to the table surface.
Testing method:
- Set your blade to what should be 90 degrees
- Place your combination square against the blade body (not the teeth)
- Check for any gaps between the square and blade
Pro tip: Check this at multiple points along the blade height and in different positions as you rotate the blade.
If adjustment is needed: Use your saw’s tilt mechanism adjustment. Most saws have stops that can be fine-tuned with set screws.
Step 6: Test Cut Verification (1 minute setup, 2 minutes cutting)
The proof is in the cutting. Make test cuts to verify your table saw tune up checklist for beginners adjustments:
Test cut procedure:
- Select a piece of scrap wood at least 4 inches wide
- Make a crosscut using your miter gauge
- Flip one piece and butt the cut edges together
- Check with your square
Perfect result: The two pieces should form a perfectly straight line with no gaps when flipped and joined.
Common Table Saw Tune-Up Mistakes Beginners Make
After helping hundreds of woodworkers with this table saw calibration process, I’ve seen the same mistakes repeatedly:
Mistake #1: Measuring against blade teeth instead of blade body
Why it’s wrong: Blade teeth have set (bend slightly left and right) and don’t represent the true blade position. Do instead: Always measure against the flat blade body.
Mistake #2: Not accounting for seasonal changes
Why it’s wrong: Your shop’s humidity changes can affect both your tools and your measurements. Do instead: Re-check alignment seasonally, especially after major temperature/humidity changes.
Mistake #3: Over-tightening adjustment bolts
Why it’s wrong: This can actually cause the very misalignments you’re trying to fix. Do instead: Snug bolts firm but not overly tight. Think “secure” not “bulletproof.”
Mistake #4: Ignoring the miter gauge
Why it’s wrong: A sloppy-fitting miter gauge will give you crooked cuts even if everything else is perfect. Do instead: Check that your miter gauge fits snugly in its slot without binding.
Advanced Table Saw Calibration Troubleshooting
Sometimes, even after following this table saw tune up checklist for beginners perfectly, you might still have issues. Here are the most common culprits:
Problem: Blade deflection during cutting
Symptoms: Cuts start square but drift during the cut Solution: Check blade sharpness, reduce feed rate, ensure proper blade height
Problem: Workpiece movement during cutting
Symptoms: Inconsistent results, burning, or kickback Solution: Proper workpiece support, featherboards, consistent feed pressure
Problem: Fence deflection
Symptoms: Tapered cuts, especially on longer pieces Solution: Check fence rigidity, ensure proper clamping technique
Table Saw Maintenance Schedule: Keep Your Calibration Perfect
Once you’ve achieved dead-square perfection with your table saw tune up checklist for beginners, maintain it:
Weekly (if used regularly):
- Clean table surface thoroughly
- Check fence parallel alignment
Monthly:
- Verify blade perpendicularity
- Clean and lubricate adjustment mechanisms
Seasonally:
- Complete full table saw calibration procedure
- Check for any loosened bolts or shifted settings
After transport or major shop changes:
- Complete full tune-up procedure
Essential Tools That Make Table Saw Tune Up Easier
While you can complete this table saw tune up checklist for beginners with basic tools, having the right equipment makes it faster and more accurate:
Essential:
- High-quality combination square (I recommend the Starrett 12″ combination square)
- Feeler gauge set
- Good lighting
Nice to have:
- Dial indicator with magnetic base (for ultimate precision)
- Precision straight edge
- Digital calipers
Investment priority: Start with a really good square. It’s the foundation of all your measurements in any table saw calibration process.
Real-World Results: What to Expect from Your Table Saw Tune Up
After completing this table saw tune up checklist for beginners properly, you should see:
Immediate improvements
- Test cuts that are actually square
- Joints that close without gaps
- Reduced frustration and wasted wood
Long-term benefits:
- Consistent results project after project
- Increased confidence in your abilities
- Professional-looking results
Time savings: The 15 minutes you spend on this table saw calibration will save you hours of fixing mistakes and re-cutting pieces.
When to Call for Professional Table Saw Calibration Help
Some issues require professional attention:
- Table surface that’s significantly warped or damaged
- Motor/arbor problems that prevent proper adjustment
- Bent or damaged fence systems
- Electrical issues
Don’t feel bad about getting help. A professional tune-up typically costs $100-200 but can save you hundreds in wasted materials and frustration.
Your Next Steps to Table Saw Precision
Here’s what I want you to do right now:
- Download the complete checklist – I’ve created a printable version of this entire table saw tune up checklist for beginners that you can keep in your shop. It includes measurement tolerances, adjustment procedures, and a maintenance schedule.
- Schedule the tune-up – Block out 30 minutes this weekend (15 for the actual process, 15 for test cuts and verification).
- Gather your tools – Make sure you have everything you need before starting your table saw calibration.
- Document your settings – Once you achieve perfection, write down all your measurements so you can quickly verify them in the future.
The Bottom Line on Table Saw Tune Up for Beginners
Perfect cuts aren’t about having expensive tools – they’re about having properly tuned tools following a systematic table saw tune up checklist for beginners.
I’ve seen amazing work come from modest home shops with properly maintained equipment, and I’ve seen expensive setups produce poor results because the owner never learned this fundamental table saw calibration skill.
The difference between a beginner and an experienced woodworker isn’t just years of practice. It’s understanding that precision starts with your setup, not your skill level.
Take 15 minutes this weekend to tune up your table saw using this table saw tune up checklist for beginners. Your future projects (and your sanity) will thank you.
Get your free “Dead-Square Every Time” Table Saw Tune-Up Checklist for Beginners – a printable version of this complete process plus exclusive tips I only share with my email subscribers. It includes measurement tolerances, seasonal maintenance schedules, and troubleshooting guides that aren’t available anywhere else.
Plus, you’ll receive weekly precision woodworking tips, project ideas, and tool recommendations directly from my workshop. No spam, just helpful content that makes you a better woodworker.
About Daniel: I’ve been helping woodworkers achieve precision in their projects for over 15 years. My “Dead-Square Every Time” method has been used by thousands of woodworkers to transform their results. When I’m not in the shop, I’m sharing what works (and what doesn’t) right here at HMZ Woodz.